FINANCING AS LOW AS 0% APR ON APPROVED CREDIT. FIND OUT MORE
CHOOSE YOUR REGION
Canada
U.S.A
Mexico
Europe
United Kingdom
Slide1

5ft. 5in.

Tub Leveling the foundation

Step# 1

5ft 5in Tub Leveling the foundation

5ft. 5in.

Tub Floor positioned

Step# 2

5ft 5in Tub Floor positioned
Slide2

5ft. 5in.

Tub with Positioning Staves

Step# 3

5ft 5in Tub with Positioning Staves

5ft. 5in.

Tub Assembly completed

Step# 4

5ft 5in Tub Assembly completed
Slide3

5ft. 5in.

Tub with Seats Installed

Step# 5

5ft 5in Tub with Seats Installed

5ft. 5in.

Tub with Tub Connections Made

Step# 6

5ft 5in Tub with Tub Connections Made
Slide4

5ft. 5in.

Tub with skid pad attached and with shelves

Step# 7

5ft 5in Tub with skid pad attached and with shelves

5ft. 5in.

Tub with Accessories and water

Step# 8

5ft 5in Tub with Accessories and water
previous arrowprevious arrow
next arrownext arrow
Shadow

DIY Hot Tub Assembly

Tools required: A DIY Hot Tub Kit normally requires only common house hold tools such as screw driver, electric drill, 1/8" wood drill bit, rubber mallet, 2 adjustable wrenches, saw or utility knife.

People required: two

Time: weekend project

Other required work: Create foundation

1- PREPARE the foundation

Prepare the foundation

2- SHIPPED with pre-assembled Floor

Shipped with pre-assembled Floor

3- POSITION the floor in place

Position the floor in place

4- INSTALL the stave

nstall the stave

5- INSTALL seats in a DIY Hot Tub

Install seats in a DIY Hot Tub

6- INSTALL plumbing in a DIY Hot Tub

Install plumbing in a DIY Hot Tub

7- COMPLETED tub Enjoy

Completed tub Enjoy
Image

Need more info? Let us help!

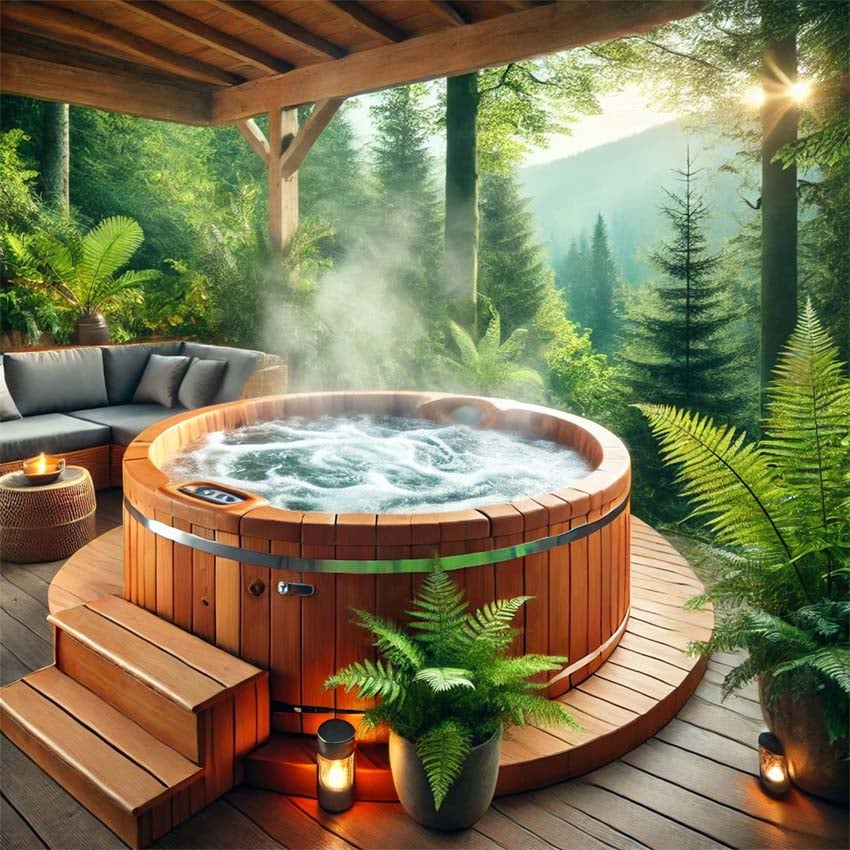
Have questions about our handcrafted cedar hot tubs? We're here to help! Whether you're looking for product details, installation guidance, or need assistance with an order, our team is ready to assist you.

Fill out the form, and our team will get back to you as soon as possible.

Affirm Promotion
Accredited Business

LET US HELP

OUR PRODUCTS

ABOUT US

ABOUT US